How To Add Images To Xcode And iOS App
Images make your app better. In this article, I’ll teach you how to add images to Xcode.
How to add images to an iOS app:
- Add your image to the
Assets.xcassetsfile of your project - Create an image view in your user interface using the interface builder.
- Set the image view to the image you just added.
- Repeat these steps for more images. You can also set the image to be the background of a button or a view.
Images can be added to your app in a variety of methods. They can involve the interface builder or only code. They can be added as backgrounds or as buttons.
How to add images with pictures
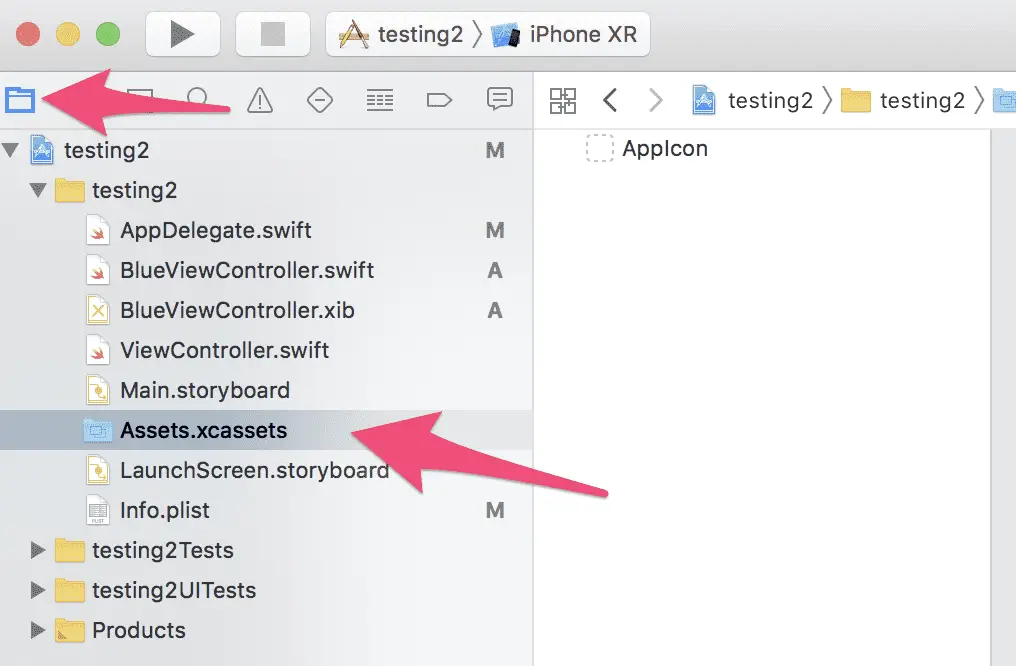
Open up Xcode and navigate to your Assets.xcassets file in the Project Navigator. This is found on the left-hand pane and may be inside a Resources folder.
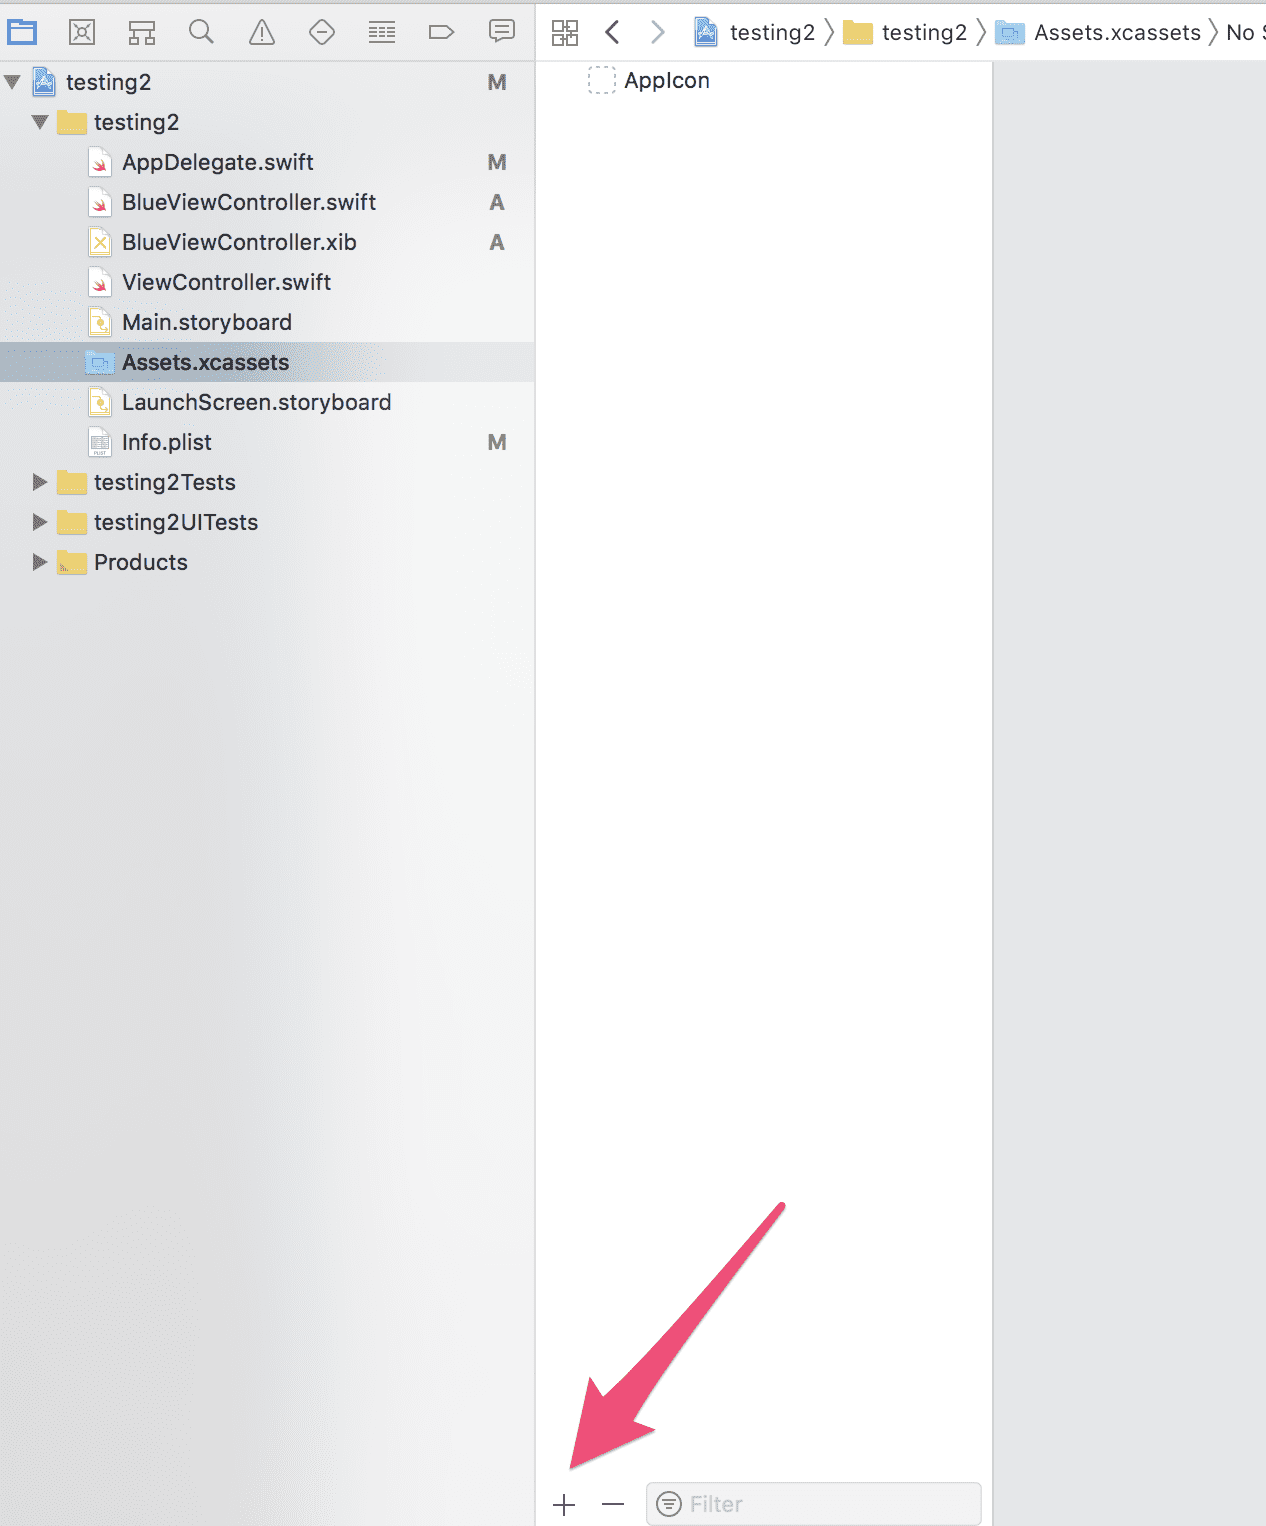
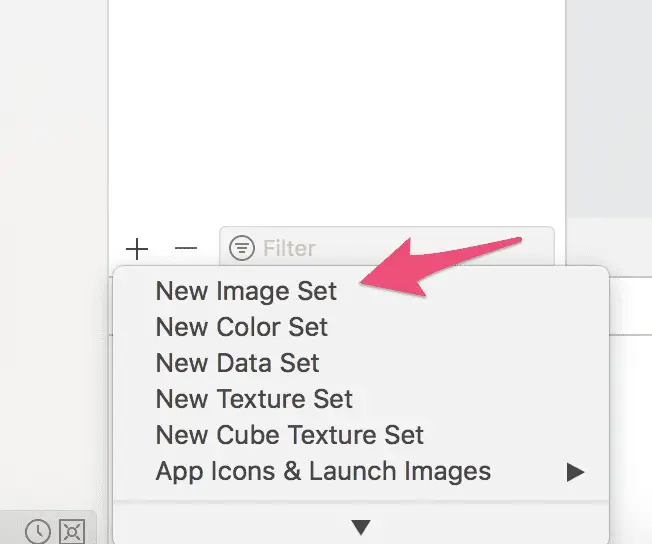
Click the plus (+) button on the near the bottom left of your opened file. If you hover over this it should say Add a group or an image set.
Go ahead and select New Image Set
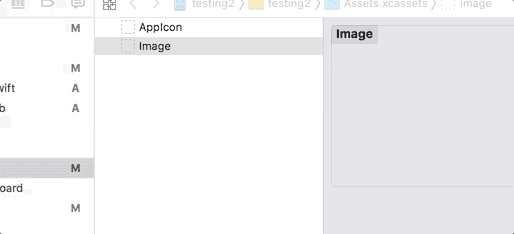
This will create a new image set in your Assets.xcassets. You can rename it on in the outline pane by clicking on it.
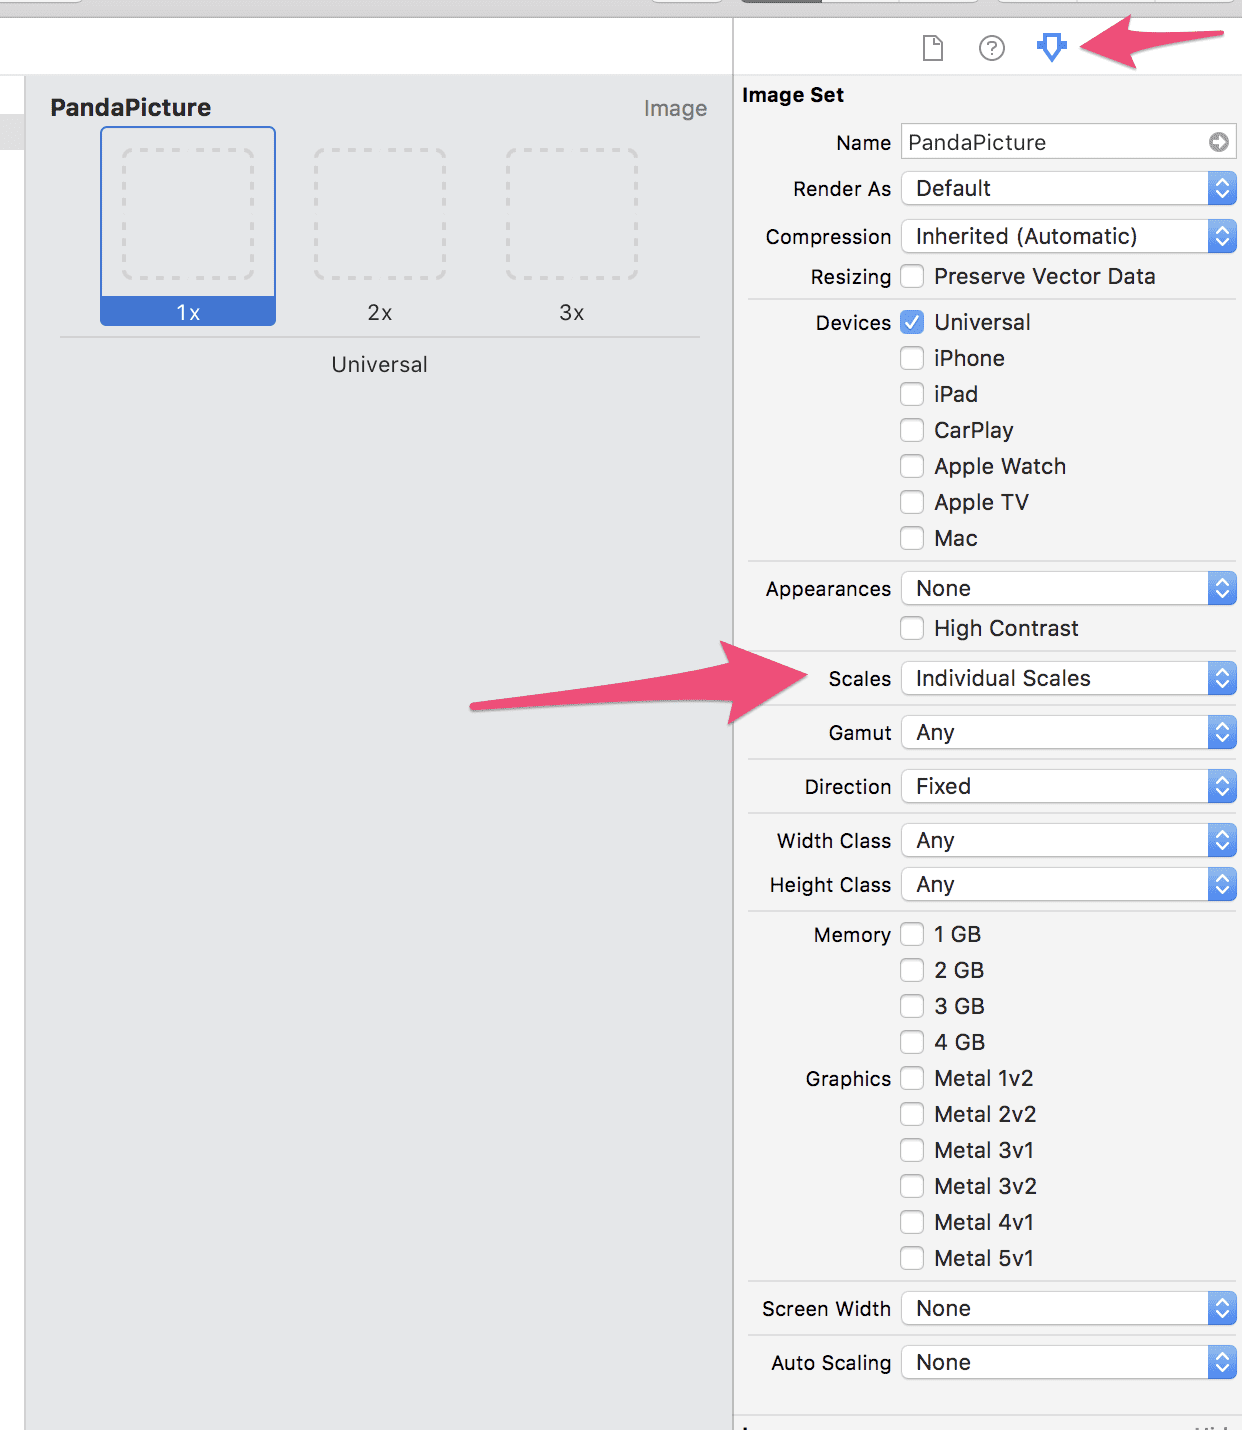
In the main editor window you will see options for 1x, 2x and 3x sizes of your image. These are for the different resolutions of your image. The iOS platform places content onscreen based on its resolution. High-resolution screens have a higher pixel density and require images with more pixels. You should try to support high resolution images for all your assets for all device sizes your app supports.
You can also select to just have one image to simplify things. This helps a lot when you’re just starting out. You can add specific image sizes for different resolutions later on. To do this, go to the Attribute Inspector on the right-hand pane and find the scales option.
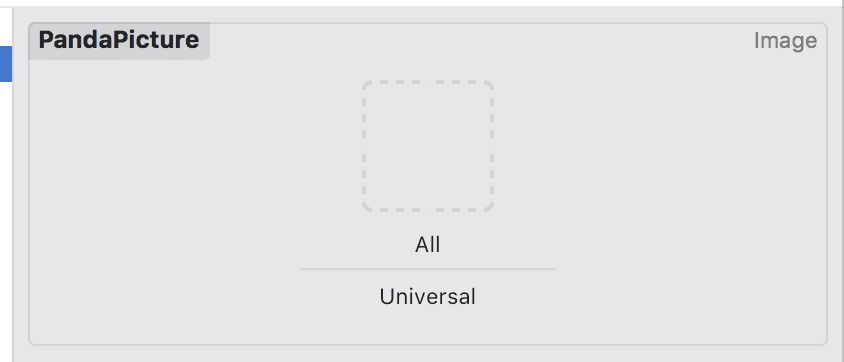
Select single scale and your editor will now only have one placeholder for the image.
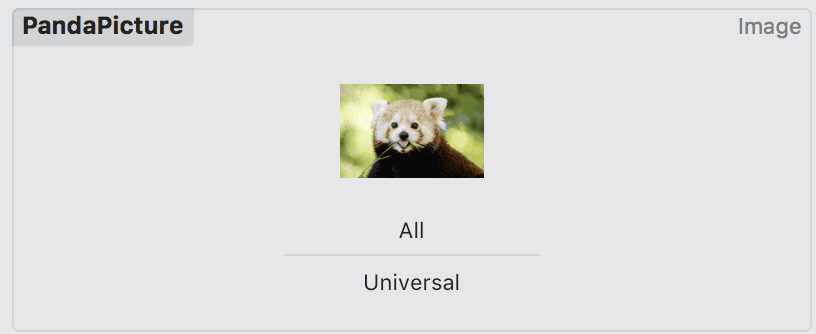
You can drag any image into this dotted-line square and your entire app will have access to it.
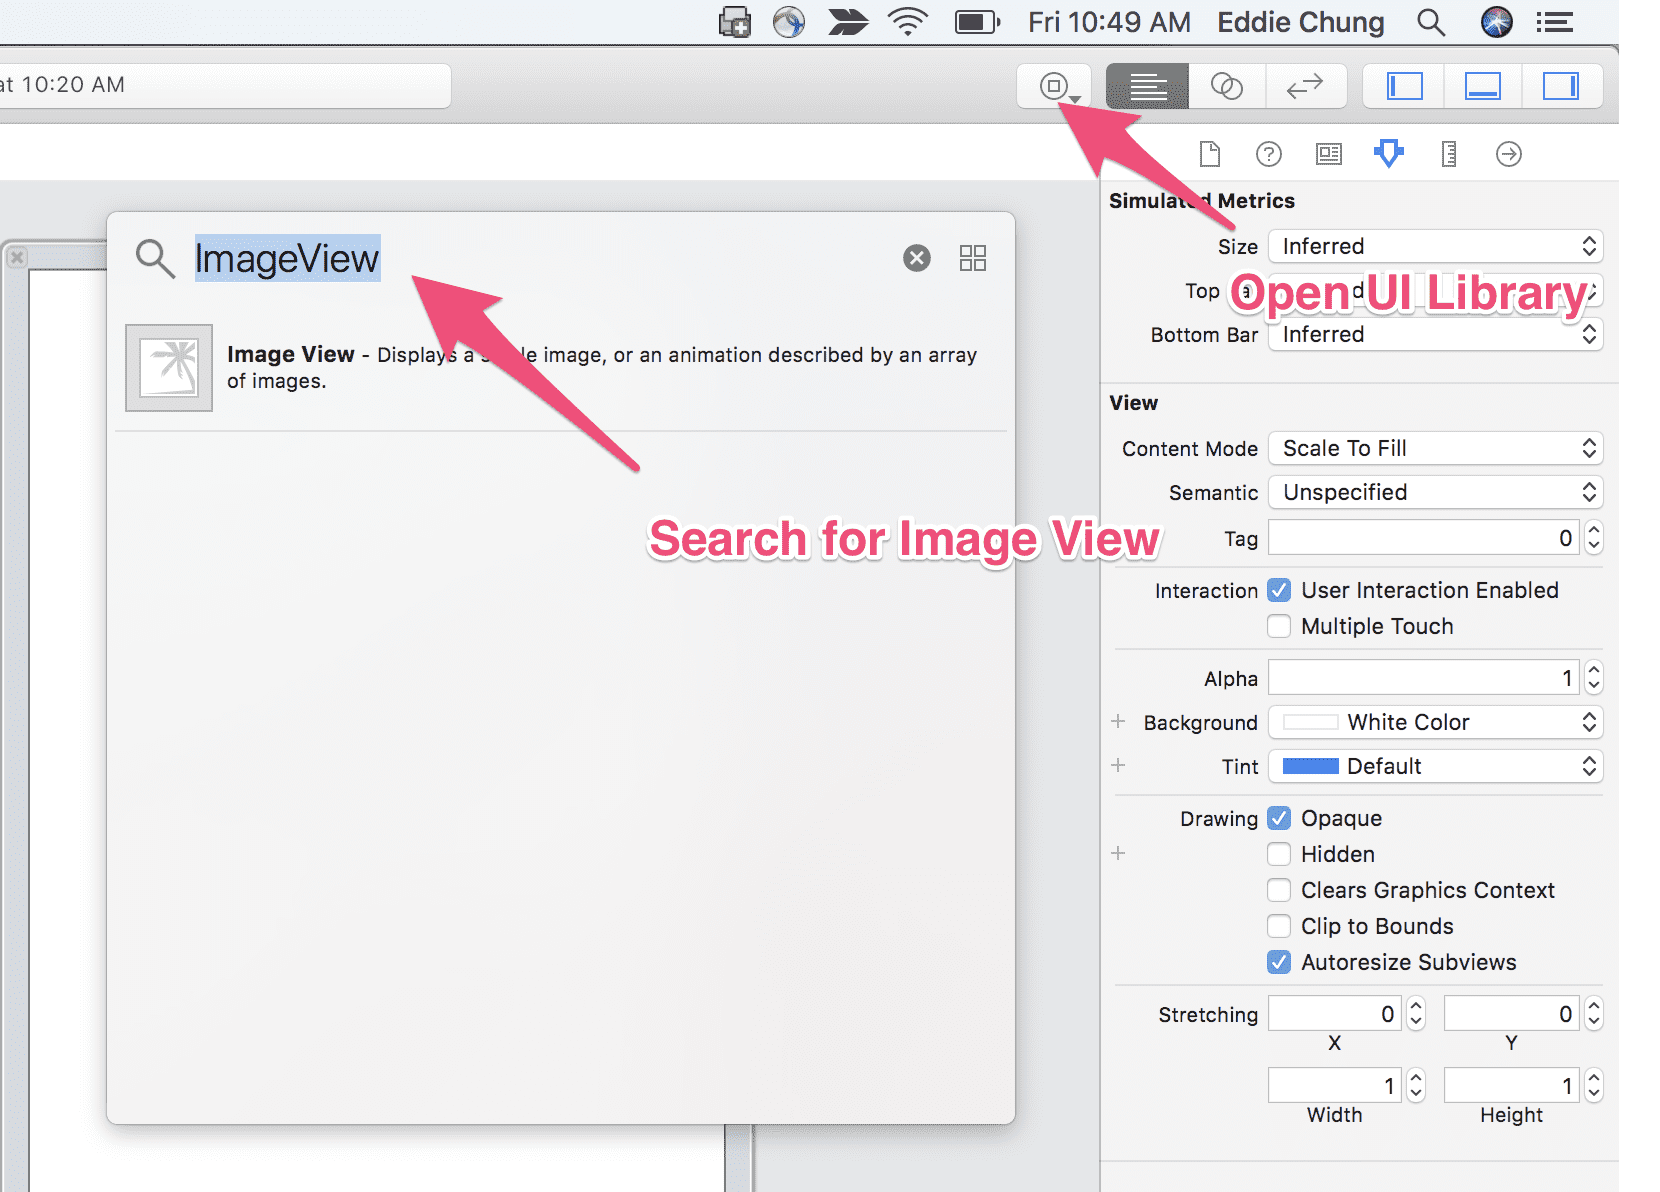
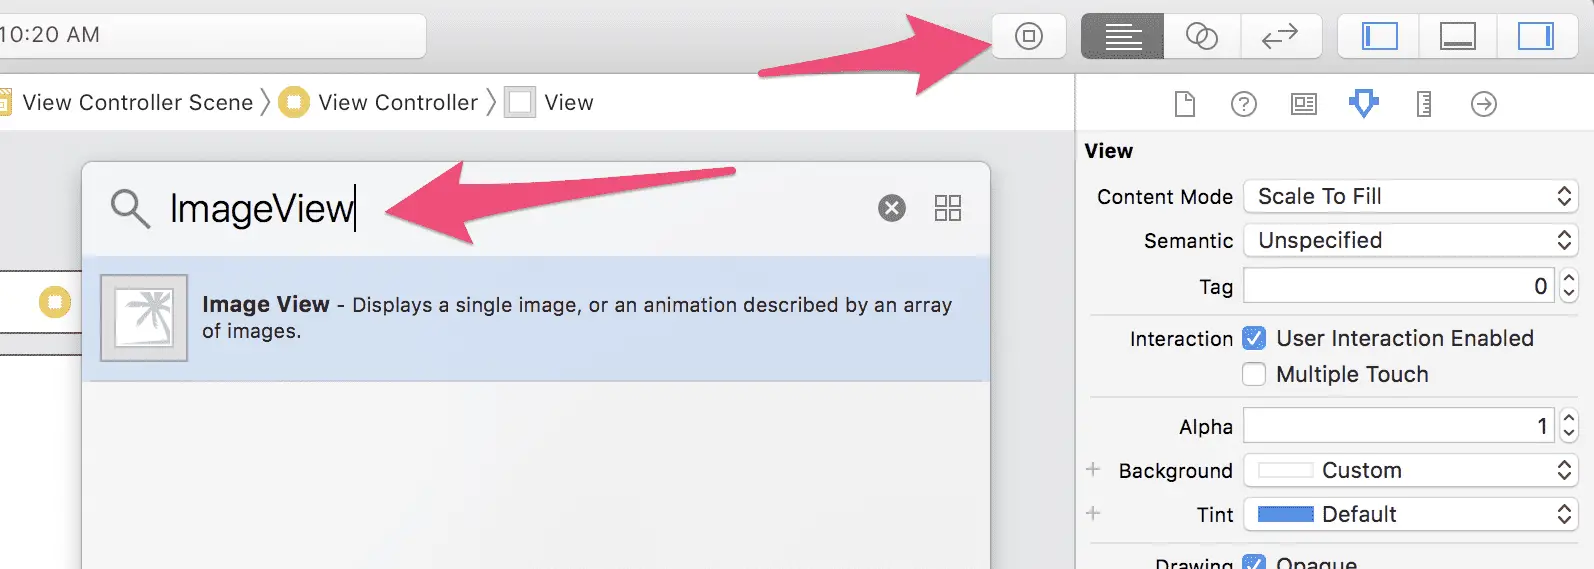
Now head over to any .XIB or Storyboard file and create a new image view. You can do this by opening up the UI library and then searching for image view.
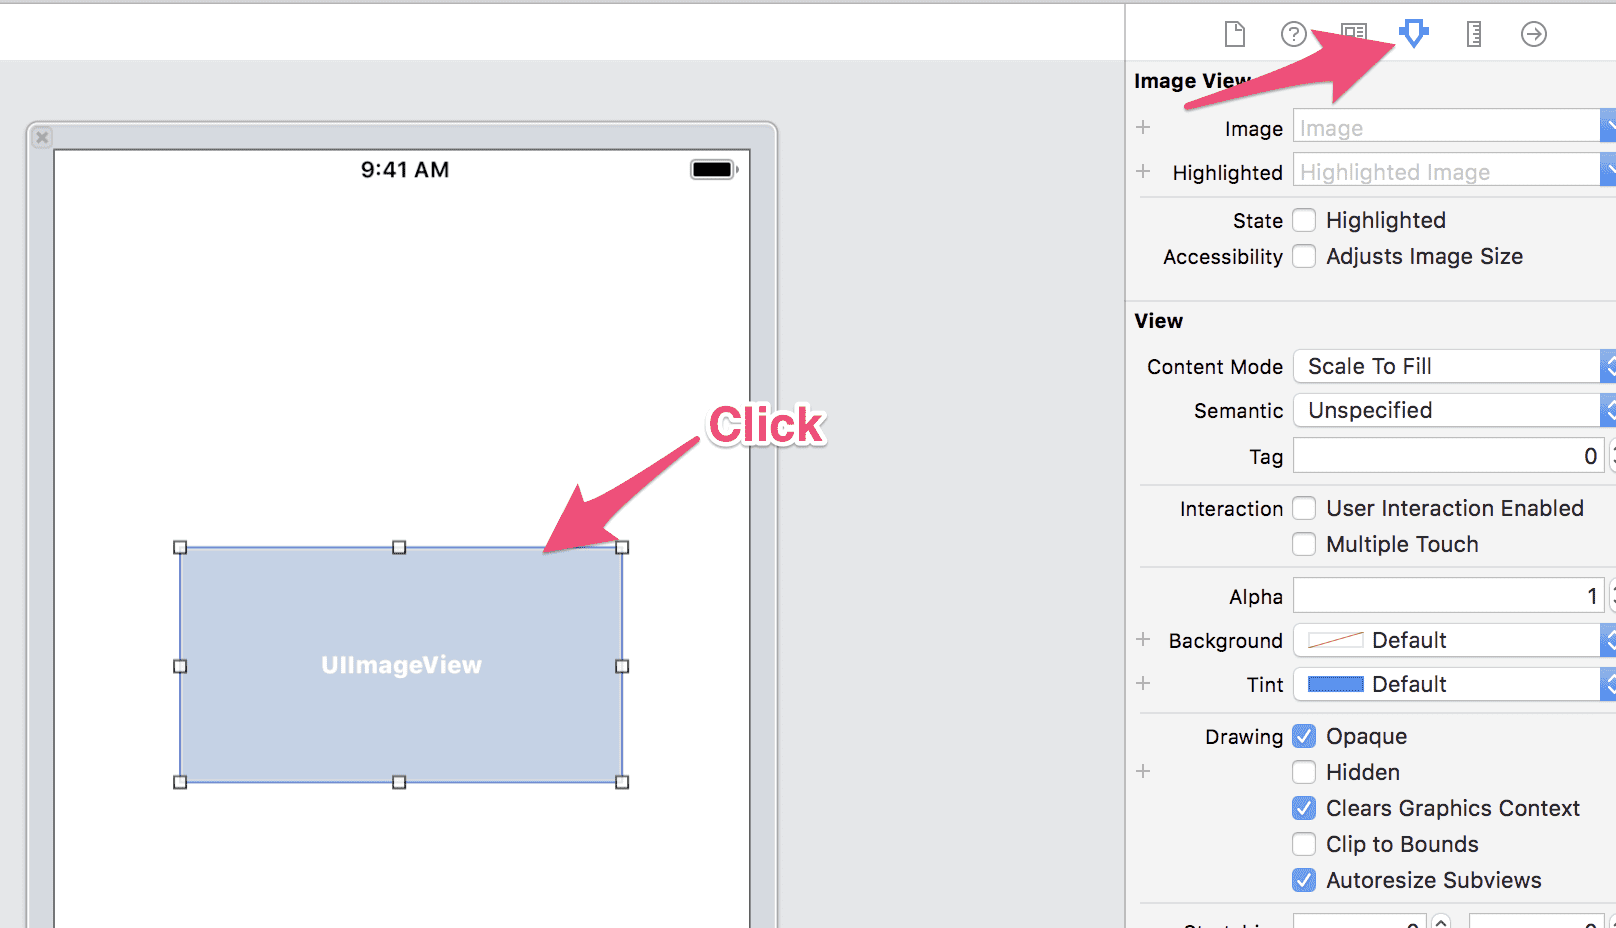
Once you have the image view on your editor. Click and select the Attributes Inspector
Now you can fill out the image field with the name of the image set you created in the previous sets.
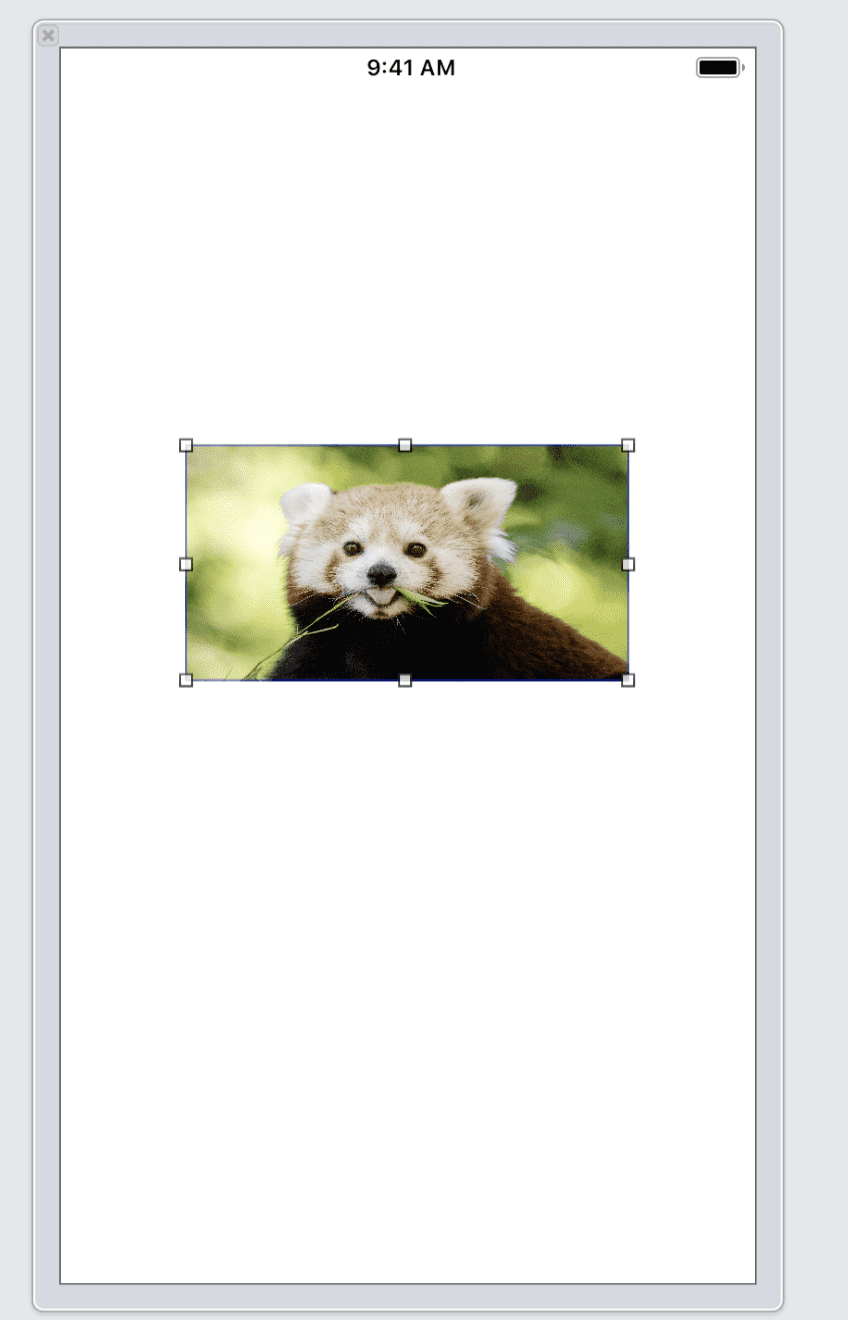
Awesome! You did it, now you have an image on your view.
How to add a background image in Xcode
A common requirement is setting the background of a view to an image. This is pretty simple to do within Xcode after you have added the image to your assets.
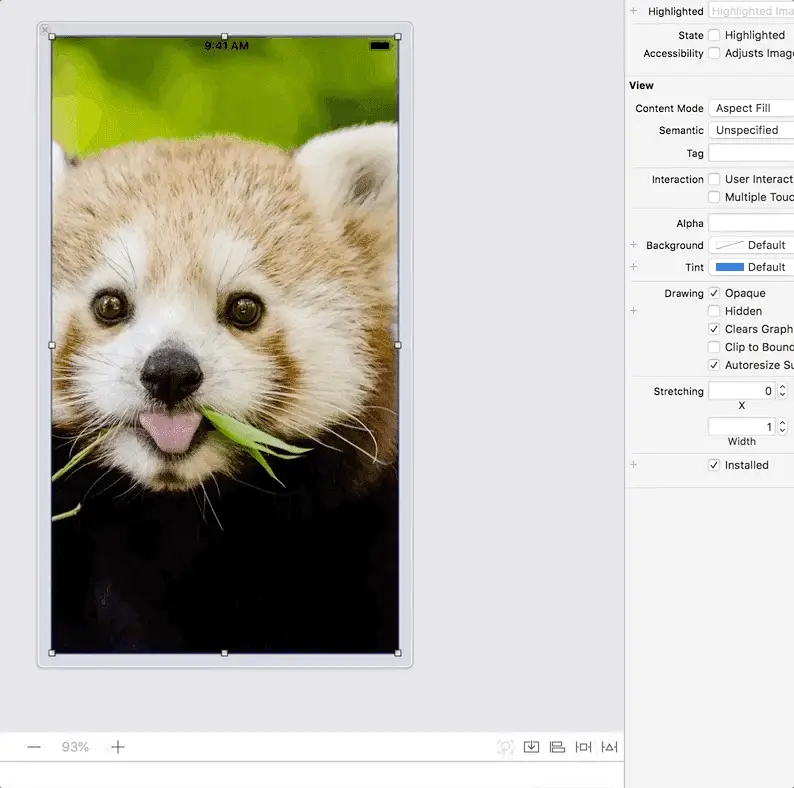
Select the view that you want to have a background image in Xcode. Create an image view in that view and resize it to fill the screen.
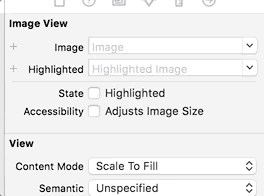
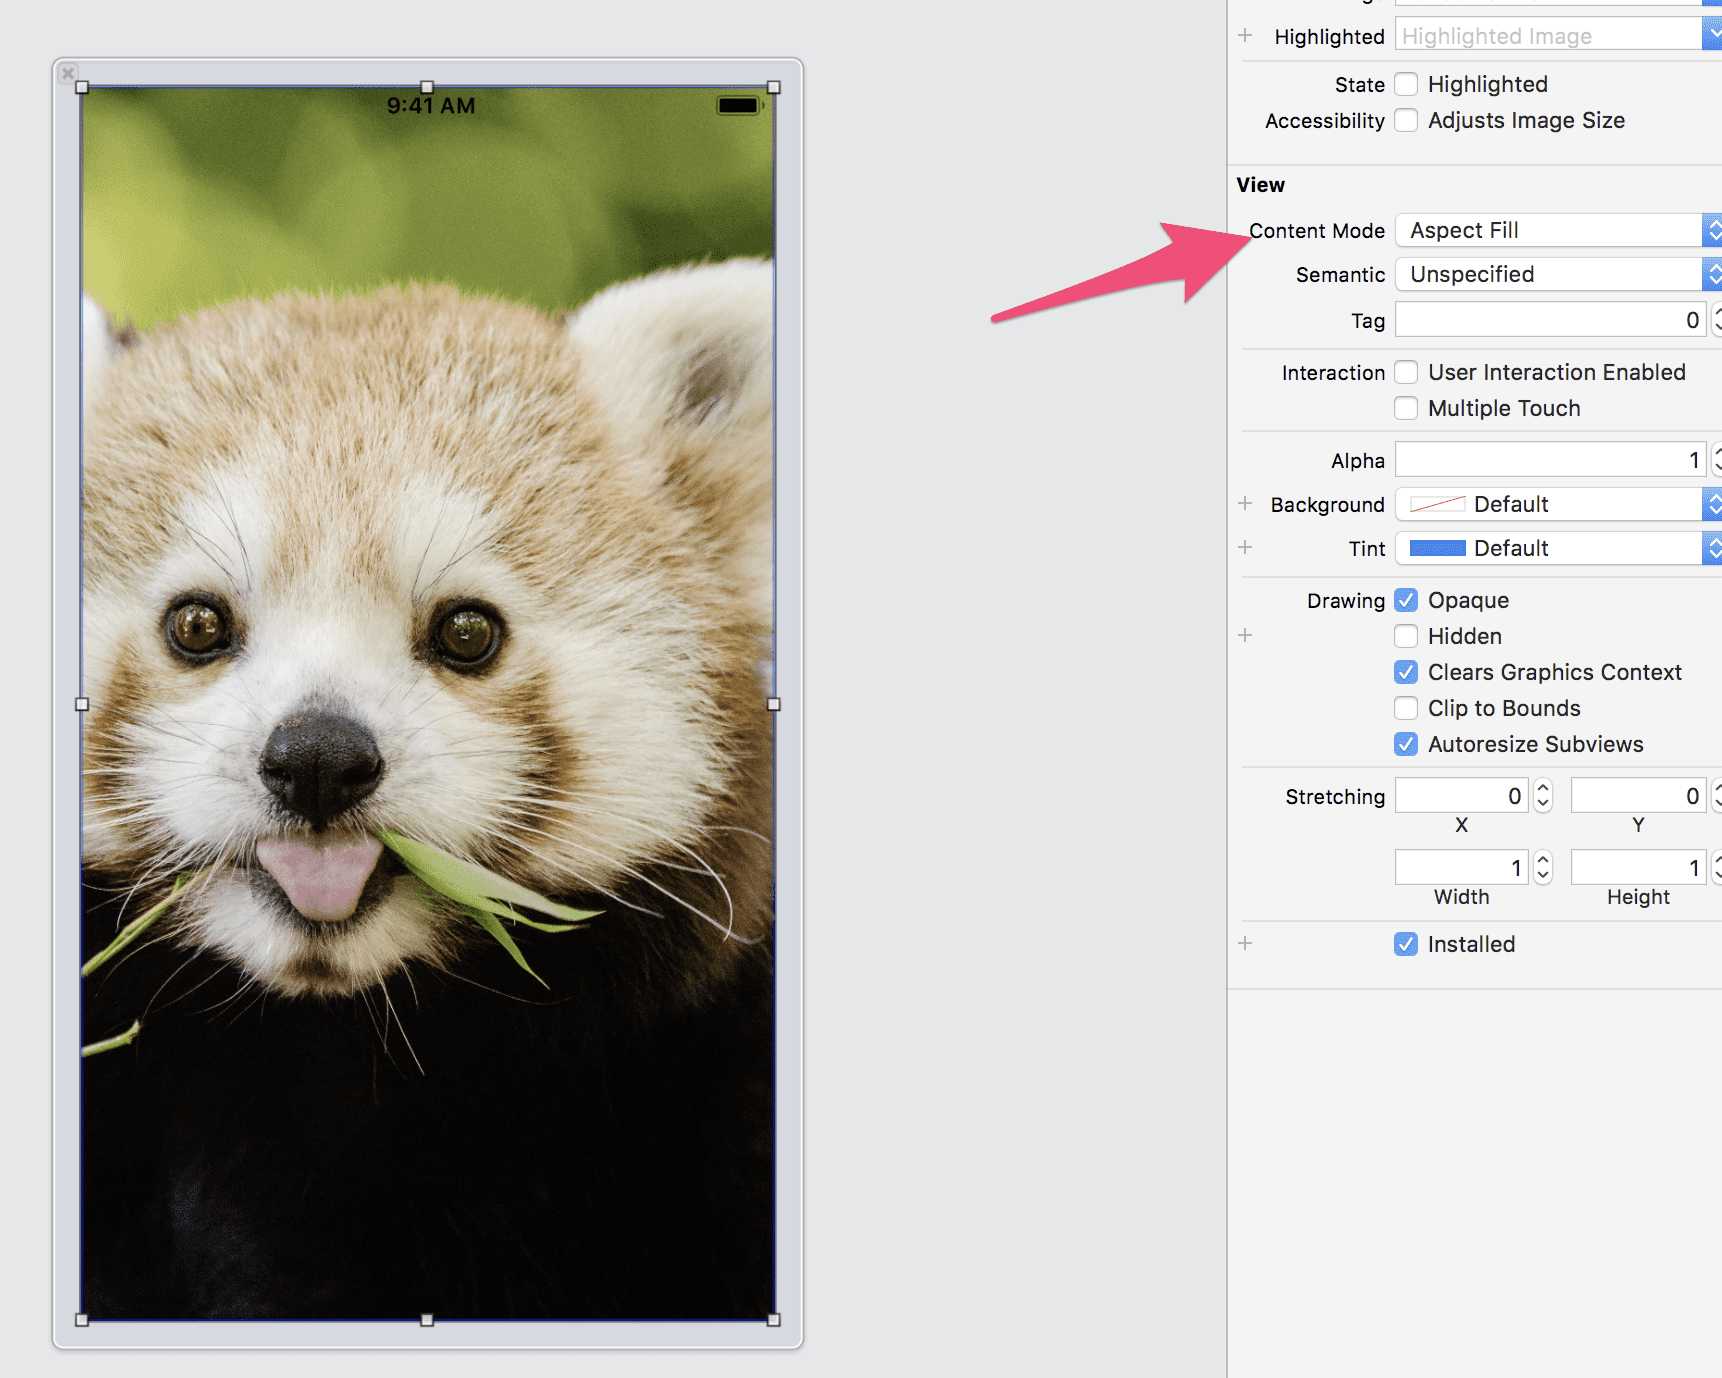
Now open up the Attributes Inspector and select the correct Content Mode.
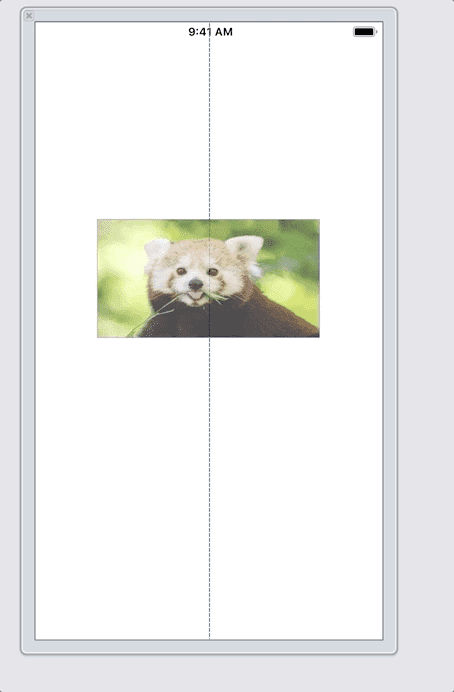
There you go! Background image is set for your view. To make sure this works on all screen sizes (including iPads!), set the constraints of the image to view to hug the edges of the view. Set the top, left, right and bottom constraint all to zero.
How to resize images for 1x, 2x, 3x
This depends on how you are getting or creating your images. Here are two different methods:
How to export iOS image assets in Sketch
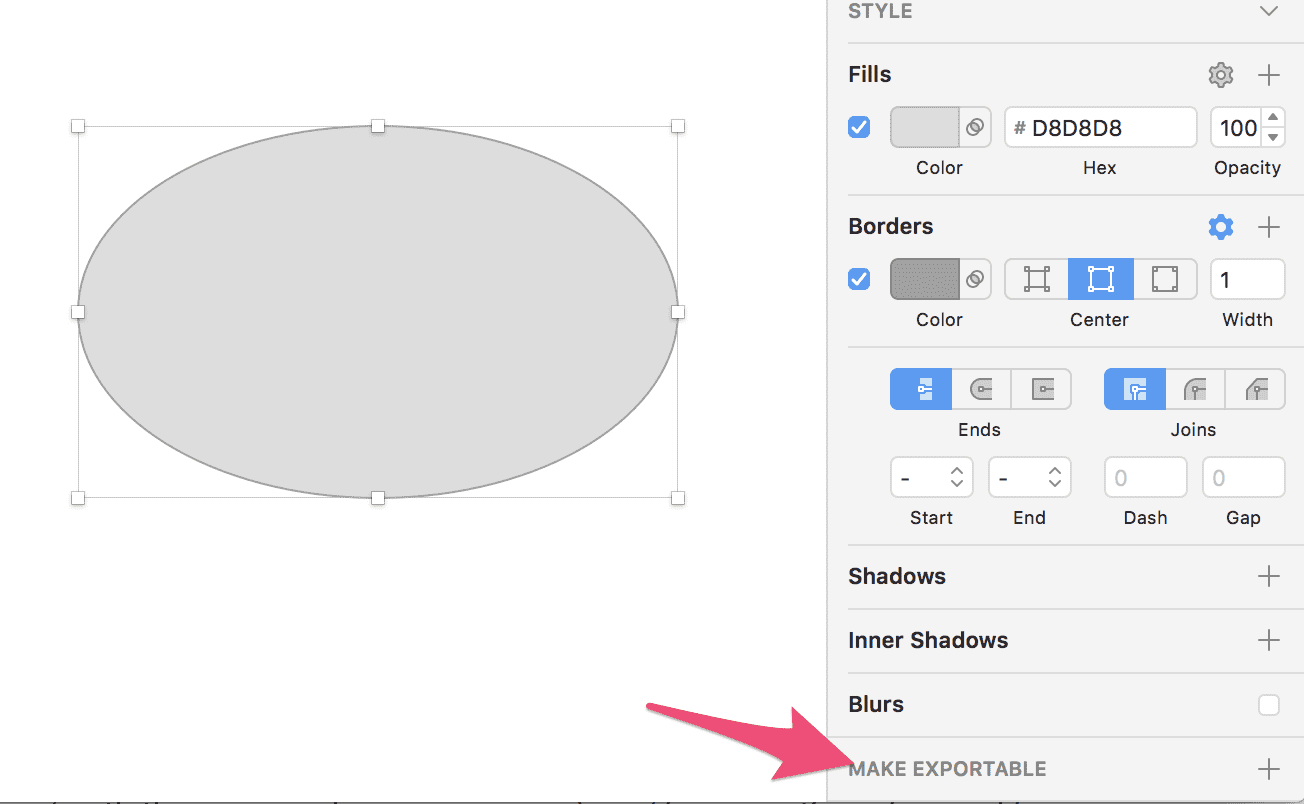
If you are using Sketch to create your image assets. Select the asset you would like to export and scroll to the bottom on the right-hand pane. You will find an option that says Make Exportable.
From here, you can choose the different options including 1x, 2x and 3x. You can also choose the file format you would like it exported in. This includes options such as PNG, JPG, TIFF and WEBP.
How to resize iOS image assets in general
You can use online tools like http://image-resizer-toolbox.fnxsoftware.com/ or http://nsimage.brosteins.com/
You can also just use PhotoShop or another image editor. Just remember that 2x needs double the pixels and 3x needs triple the pixels.
How to make an image a button
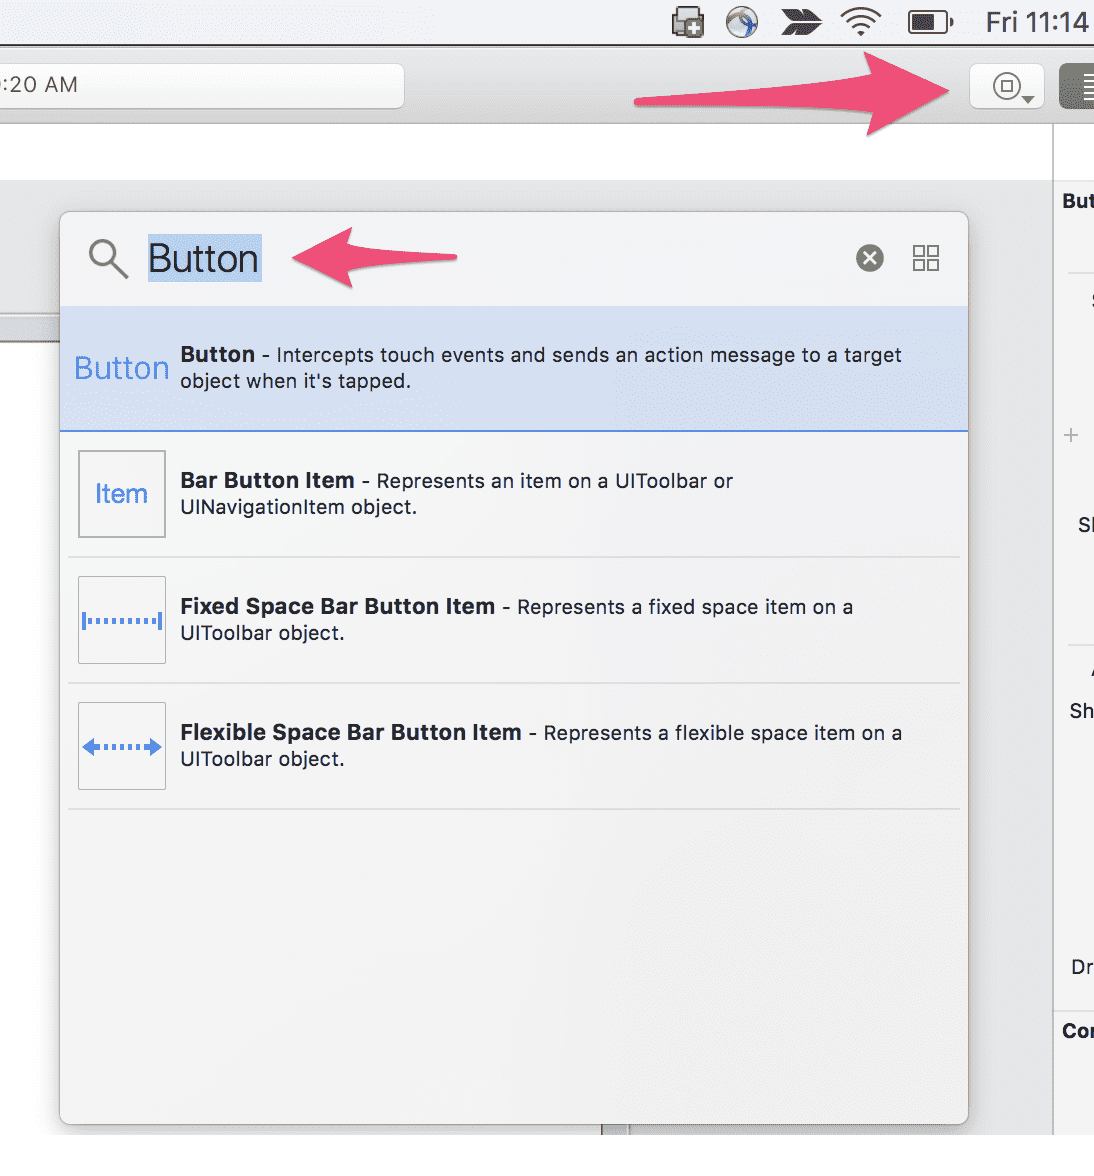
First, create your button from the UI library by clicking the top right-hand button and searching for Button.
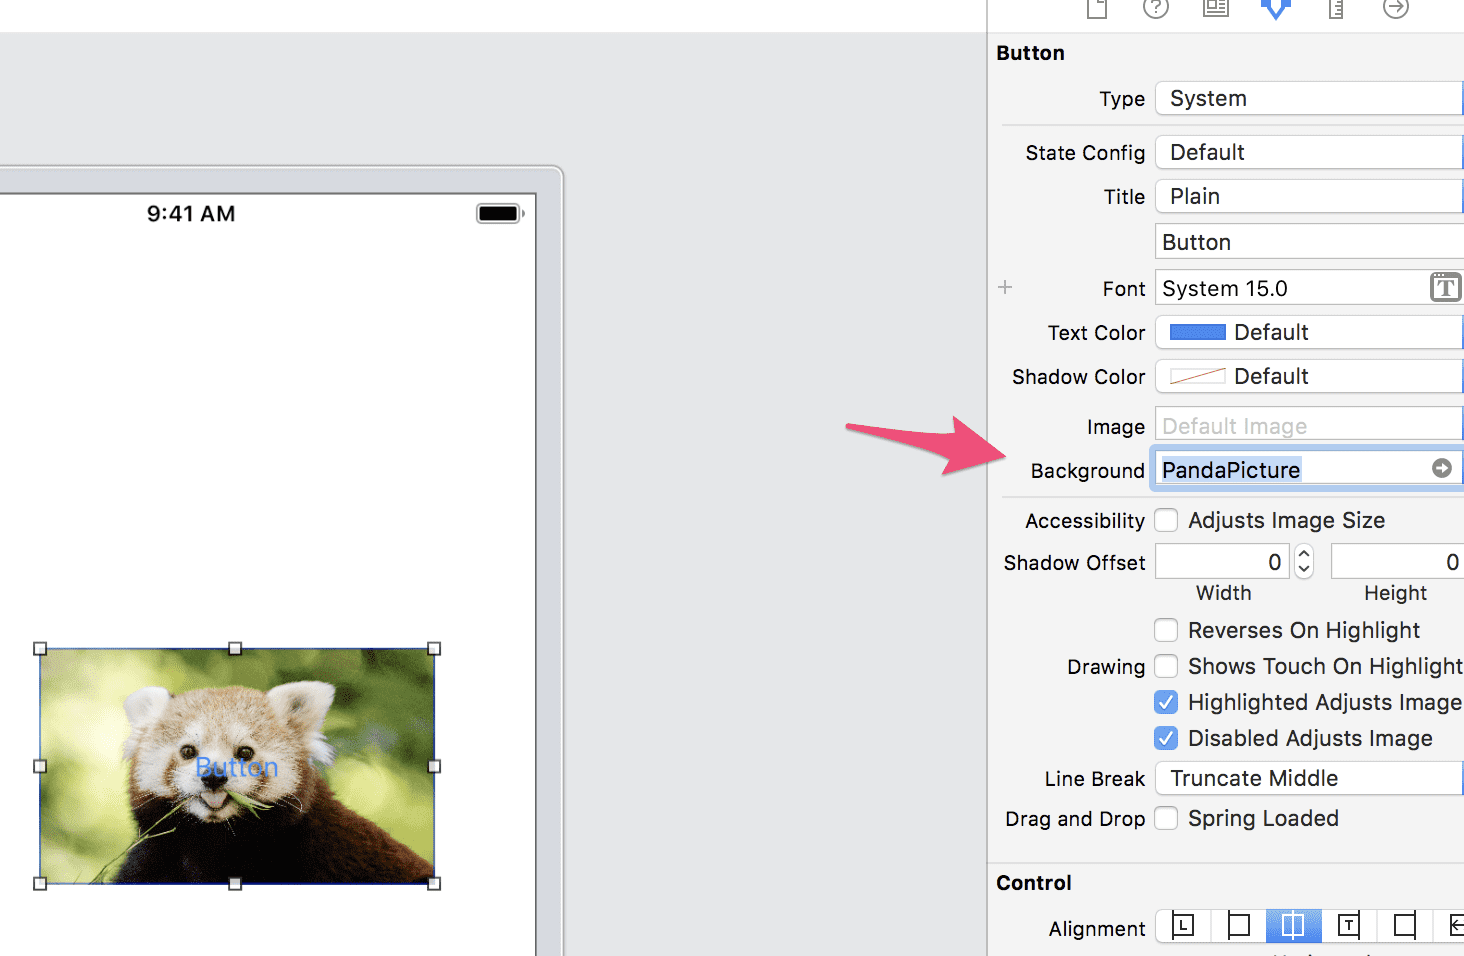
Once the button has been created, select it and open the Attribute Inspector. Now go to the field that says background image and select the image you’d like.
That’s it! Now you have a button with a background image.
How to add an image to launch screen of iOS App
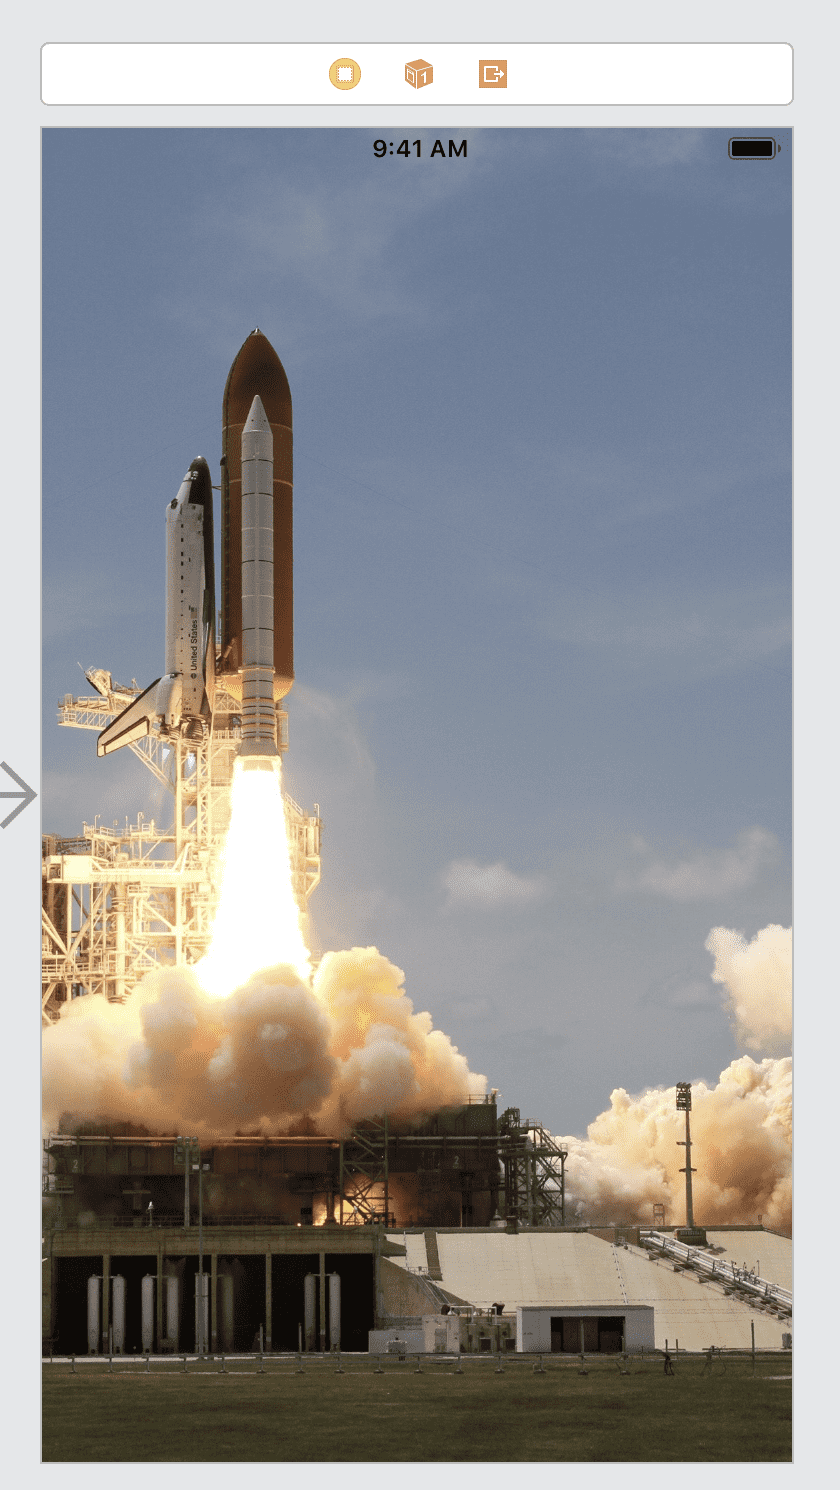
Open up your LaunchScreen.storyboard from your project navigator. Create an image view by opening up the UI library and create a new image view.
Drag out that image view to fill the LaunchScreen and set constraints so it stays on the edges. To see how to add constraints, read the above section How to add a background image in Xcode. I set my images content mode to Aspect Fill
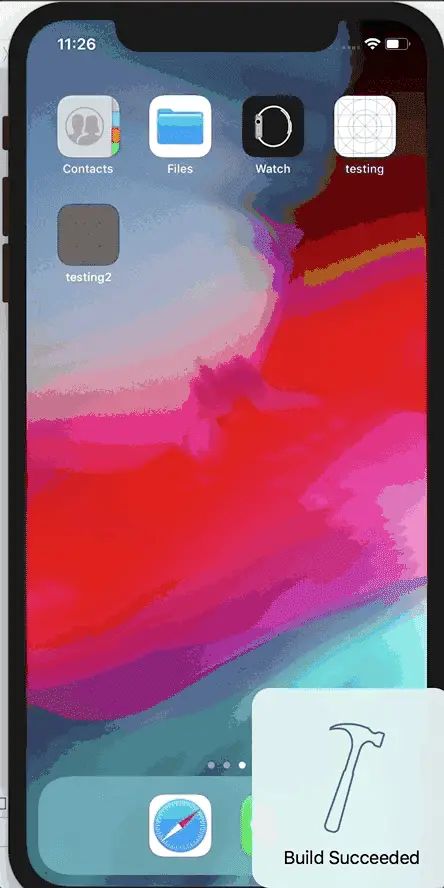
Go ahead and launch your app! You should see the image on your launch screen.
Why should you add images to your iOS app
Images are essential in creating a great user experiences. Almost all apps have images in some of their screens. Without images, your app will appear visually boring to the end user.
You can add images to explain or emphasize a feature of your application. I have often used images for a feature button or a menu option. These icons are understood across language barriers and can help your app gain more international usage.
It is also easier for images to invoke emotions and feelings from the end user compared to text. Users come back to your application because of the good feelings and dopamine your application provides them.
Most iOS devices have beautiful retina displays making your images appear amazing. Be sure to take full advantage of the hardware your user is viewing your app on.
Where to find icons to use in your app
Icons are can be found in almost all iOS apps on the app store. They’re used to describe common user behaviors such as settings or help. They are essential to creating an intuitive user experience. Good icons can make your app feel more polished and professional.
You can find icons for your buttons and menu items on these sites:
- Font Awesome
- Material Icons
- Flat Icon
How to add Adobe After Effects animations to your iOS application
Sometimes you just want a slick animation to appear during a user interaction. Adobe After Effects is a great way to create these animations, but how do you get them into your application?
AirBNB has a released a library that is perfect for this. It’s called Lottie and it makes it super easy to add very high quality animations to any app.
Lottie enables you to have flexible After Effects features and manipulate images in any way you’d like. This means you can use solids, shape layers and masks. You can make it them move forward or backward. Of course, the integration to your code is simple and easy to use for developers.
It also keeps its file sizes small ensure your app size doesn’t grow to large. Large app sizes negatively impact how many users are willing to install your iOS application.
Lottie constantly has new features being added to it over time and it’s definitely a library to watch for developers looking to make fluid applications.
Related Questions
Where to find free images for my iOS App? You can find free images to use in your iOS app on https://www.pexels.com/royalty-free-images/ or https://unsplash.com/
Where to find graphic designers for my iOS App? You can hire graphic designers for your app on https://www.upwork.com/
Eddy Chung
Similar Posts
- Best Backend For iOS App
- 10 Steps To Become An iOS Developer With No Experience
- Build An Alert Dialog Box With Text Input In Swift
- The Best Tools For iOS Developers
- Best Programming Languages To Learn For Mobile App Development
- Solution: Can't Update Xcode From App Store, Hangs Indefinitely
- Can you build an iOS app without an iPhone or iPad?
- Can I Develop iOS Apps On Windows?
- Colors & Font Styles In Xcode - Lesson 2
- didSelectRowAtIndexPath not being called

The Complete iOS App Development Bootcamp
Disclosure: This website may contain affiliate links, meaning when you click the links and make a purchase, we receive a commission.
On this page
- How to add images with pictures
- How to add a background image in Xcode
- How to resize images for 1x, 2x, 3x
- How to export iOS image assets in Sketch
- How to resize iOS image assets in general
- How to make an image a button
- How to add an image to launch screen of iOS App
- Why should you add images to your iOS app
- Where to find icons to use in your app
- How to add Adobe After Effects animations to your iOS application
- Related Questions
